

Today we're excited to host a guest post from Megan Eckman of Studio MME. You may be familiar with her embroidery patterns (and kits) of landmarks of the US East Coast.
Well, now Megan has put together an ebook of West Coast embroidery patterns. I have had a peek at the book and it is a lovely collection of illustrations of famous spots in this part of the US. Do check out the West Coast Love embroidery book. (You can also find the patterns individually.)
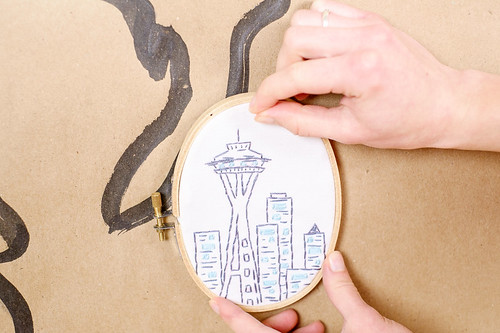
In her post today, Megan shares how to put together a quick way to display all those embroideries you have made. It only requires a few materials that you may already have to hand.
Thank you, Megan!
Carina
* * * * * *
Ever since I started embroidering a few years ago, I've been a huge fan of displaying my work on the wall. That way I don’t have to bring people into the kitchen to show off my tea towels. Plus, with a bulletin board, you don’t have to punch holes in your wall and can pin up tickets from your trip or other mementos.
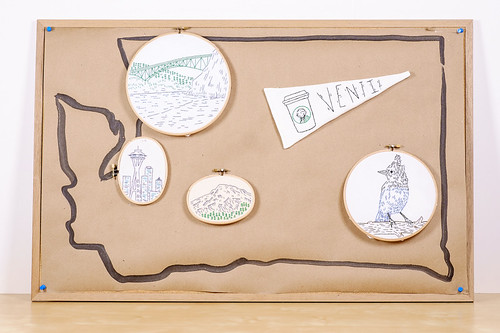
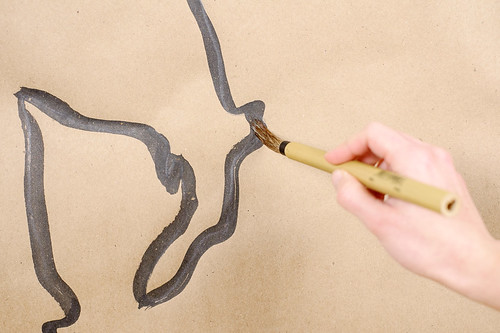
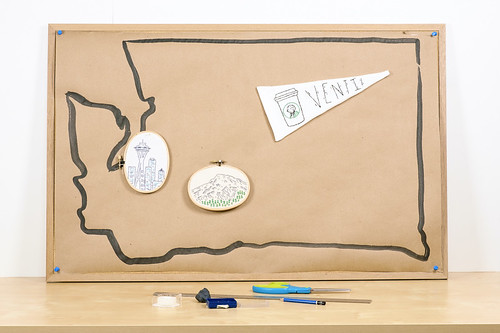
After stitching up a few pieces featuring landmarks of my new resident state, I realized that I wanted a fun way to display them. So I created a bulletin board map! A bulletin board map makes a great display for any local stitchery, postcards, and more.
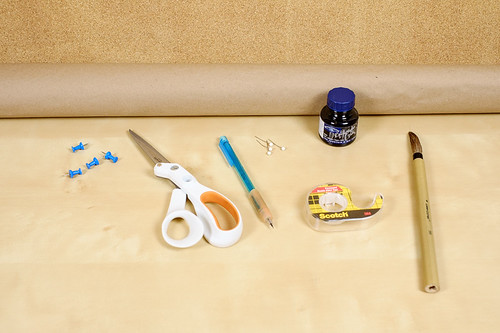
Bulletin board (if you own your own walls or have a nice landlady, you can also put this right on your wall)
Brown paper (or your choice of fun wrapping paper)
Brush
Black ink
Pencil
Push pins

How do you display your embroideries? Do let us know in the comments or share pictures in the &Stitches Flickr group. We'd love to see it!
No comments:
Post a Comment
Hi there, thank you for stopping by &Stitches. The blog is no longer updated, but you can still explore the archive of posts. Because the blog is no longer active, new comments have been disabled. Thank you for understanding. :-)
Note: Only a member of this blog may post a comment.